

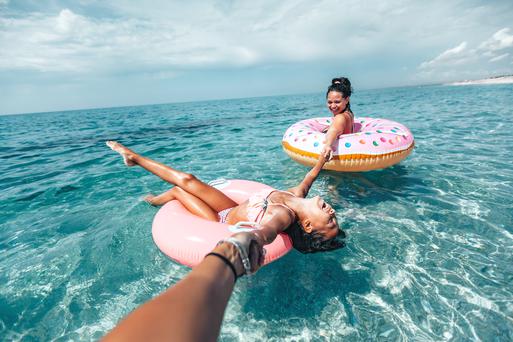
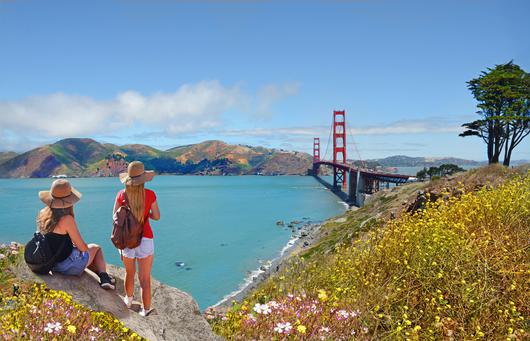

Fun and Free Things to Do in San Francisco
If you're looking for something fun to do, there are plenty of fun and free things to do in San Francisco, use our guide to help make plans.
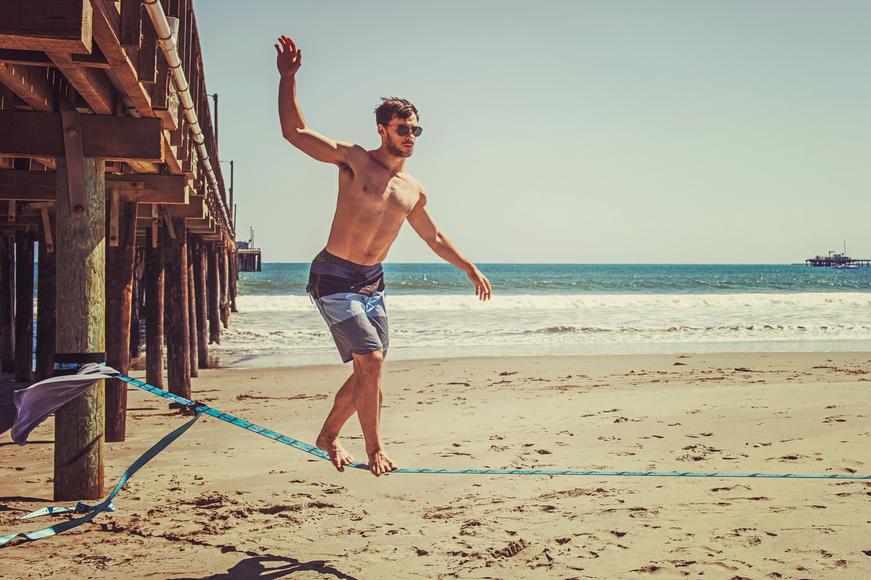
Slacklining was invented in Yosemite, so it's no wonder the sport is incredibly popular in California. Here's what to know before you start.

5 min read
June 12, 2020
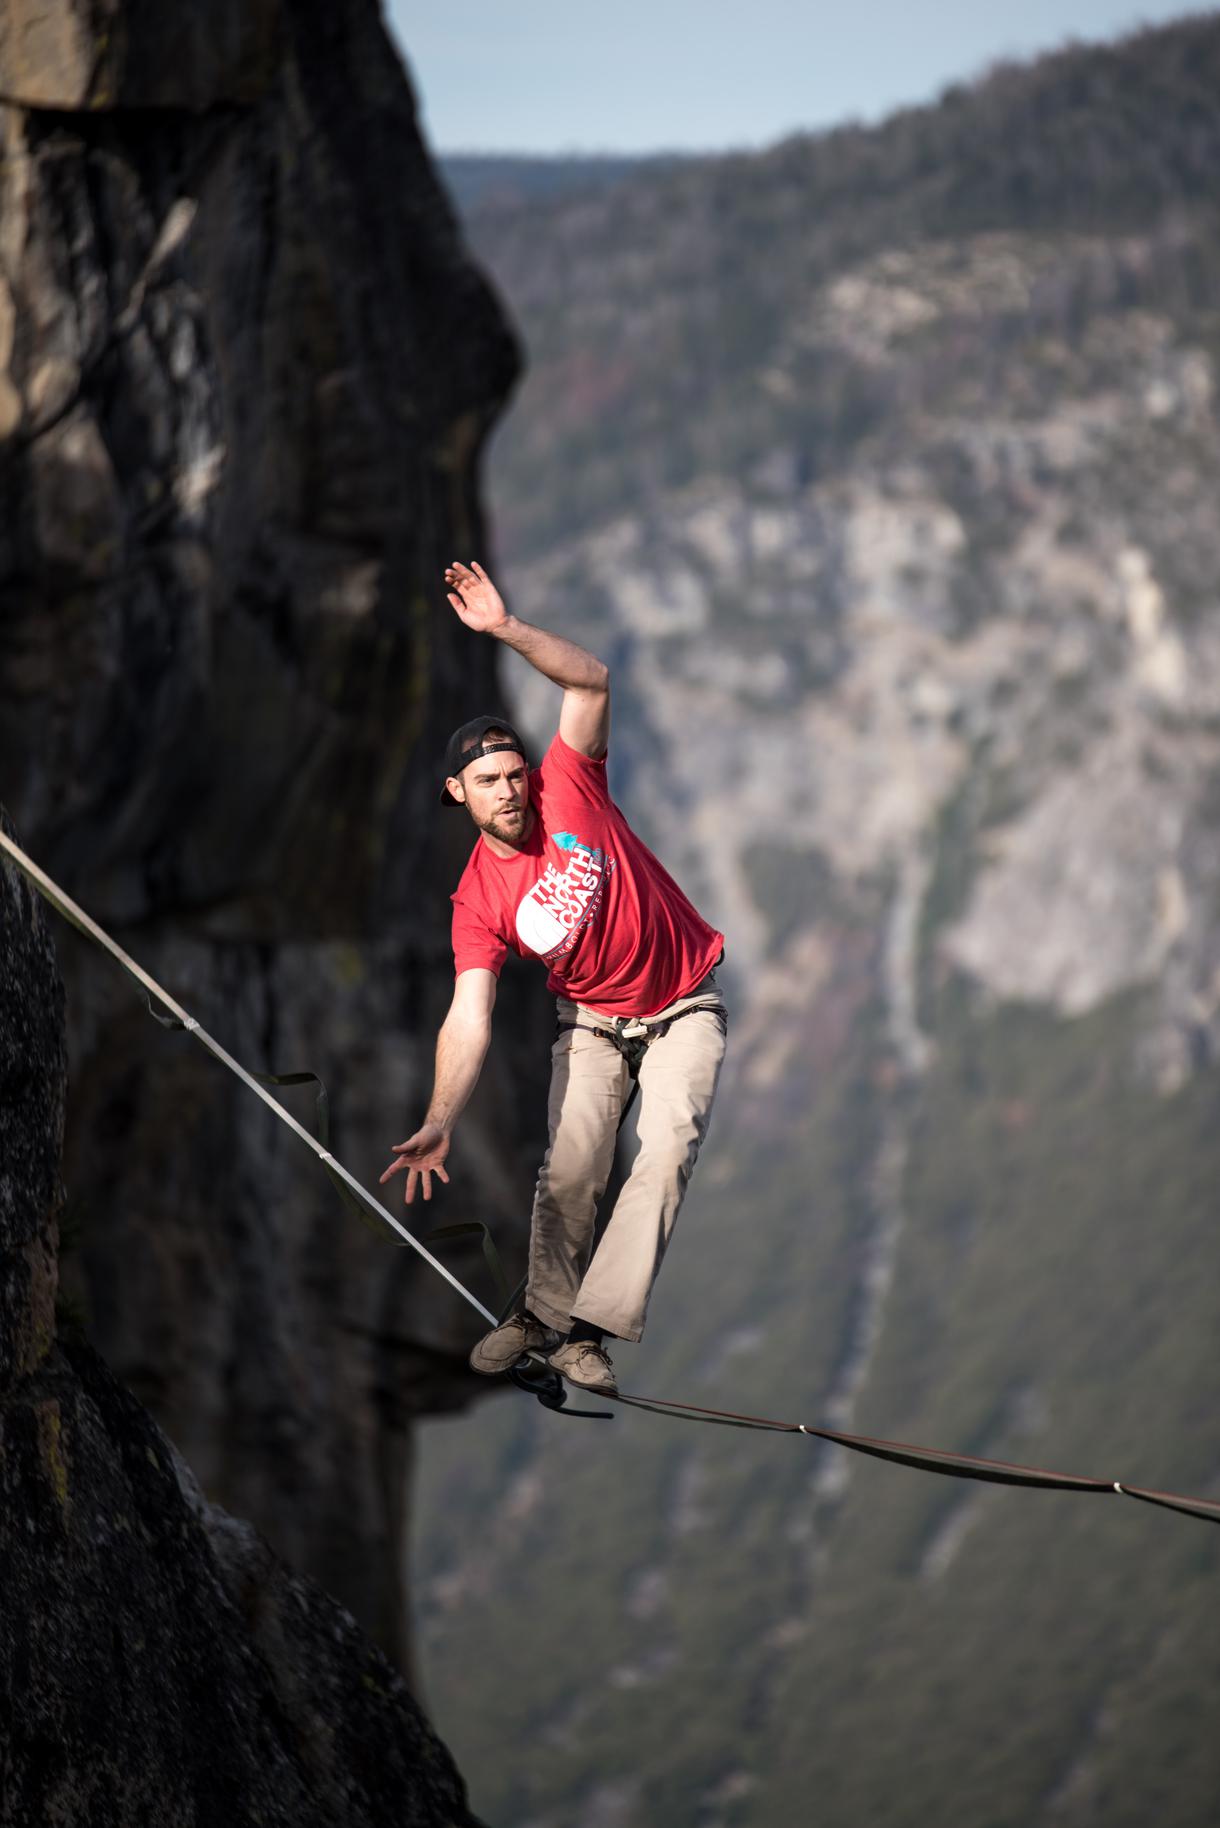
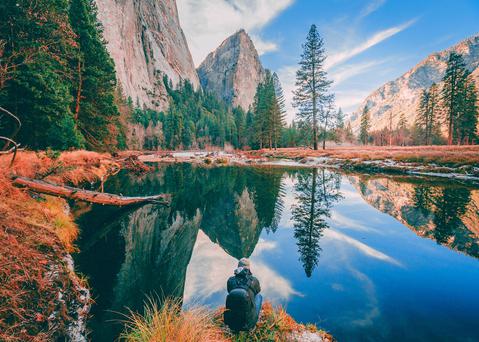
When you think of Yosemite National Park, you might first envision the tall trees, the marvelous granite rock faces, and the miles of trails that weave throughout the park. But did you know Yosemite is also the birthplace of the increasingly popular sport of slacklining? This thrilling form of exercise requires incredible focus, strength, and balance—even when simply trying to step foot on a slackline, a sentiment that nearly every beginner can confirm—making the feats of trickliners even more impressive.
Considering the muscle and dedication needed to scale the Yosemite Valley’s slick granite surfaces, it makes sense that the original slackliners were bored rock climbers who were looking to fill their spare time, but—as is the case with most new activities—the history of slacklining didn’t involve a slackline kit at all. Instead, athletes would walk along the chains that are strewn throughout the national park. Once the sport was popularized, companies emerged with the slackline webbing we recognize today.
Modern slacklining is the sport of walking across slackline webbing affixed to two end points, or anchors. In the beginning, slackliners performed on the materials that were available to them (namely chains) because they offered the slack necessary for this sport, rather than the taut ropes of tightrope walkers.
Today, the best slacklines are made out of nylon webbing, and most companies offer slackline kits with many of the sport’s necessary components, including a ratchet to pull the line tighter than manual setups allow. Setting up a slackline without a complete kit requires two anchor lines (which are typically wrapped around trees), carabiners and climbing-grade rappelling rings for securing the slackline to the anchors, towels or other padding to protect the trees, and the nylon slackline itself.
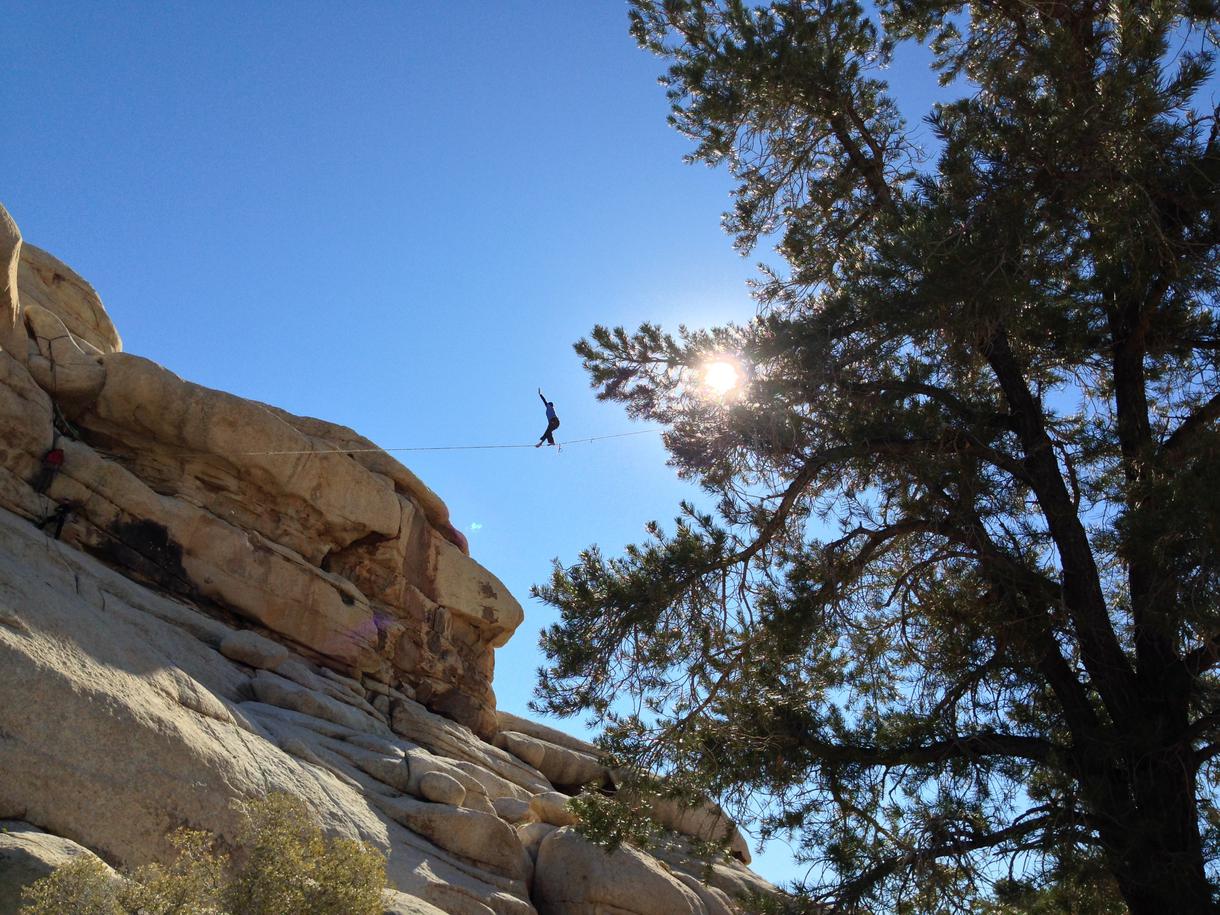
Slacklining is a fairly young sport, originating in Yosemite National Park in the 1960s. Climbers balanced on the parking lot chains—known as a “Slackchain” thanks to the characteristic sag or slack—and ropes, noticing that both their balance and core strength improved.
But modern slacklining is most often attributed to Adam Grosowsky. As the story goes, Grosowsky was a student in Southern Illinois who traveled to the esteemed Yosemite Valley to climb in the early 1980s. Grosowsky and his friend, Jeff Ellington, had already been curious about walking on ropes—the pair were supposedly inspired by a photograph of circus performers doing stunts on a tightrope—and had been known to find their balance on the likes of steel cables and climbing ropes.
During their trip, the pair visited Camp 4—which is listed on the National Register of Historic Places, thanks to its role in developing the sport of rock climbing—and set up a piece of tubular webbing in the climbing campsite next to the Yosemite Falls Trailhead. While balancing on ropes and chains had already been done, Grosowsky and Ellington were the first to walk on this flat webbing. (Ellington is also credited with creating a self-locking pulley system that tightened the slackline.) Grosowsky and Ellington even attempted to walk across a 55-foot-long steel cable from the Yosemite massif to Lost Arrow Spire; though neither of them were able to successfully walk the line, onlookers were inspired by their efforts.
After returning from Yosemite, the pair continued to slackline, popularizing the activity and mastering tricks—like Grosowsky’s handstand on a 1-inch slackline. Thanks to the ingenuity of Grosowsky and Ellington, numerous individuals decided to give the new sport a shot and, in the case of Scott Balcom and Chris Carpenter, take it to a whole new level. Balcom and Carpenter went on to become the inventors of the spire-line, a new sport composed of a highline (a slackline crafted from layers of nylon webbing and raised to a higher elevation) and a leash connecting the athlete to the line. The duo’s first successful attempt on “The Arches” was accomplished near Pasadena’s Rose Bowl Stadium in Southern California.
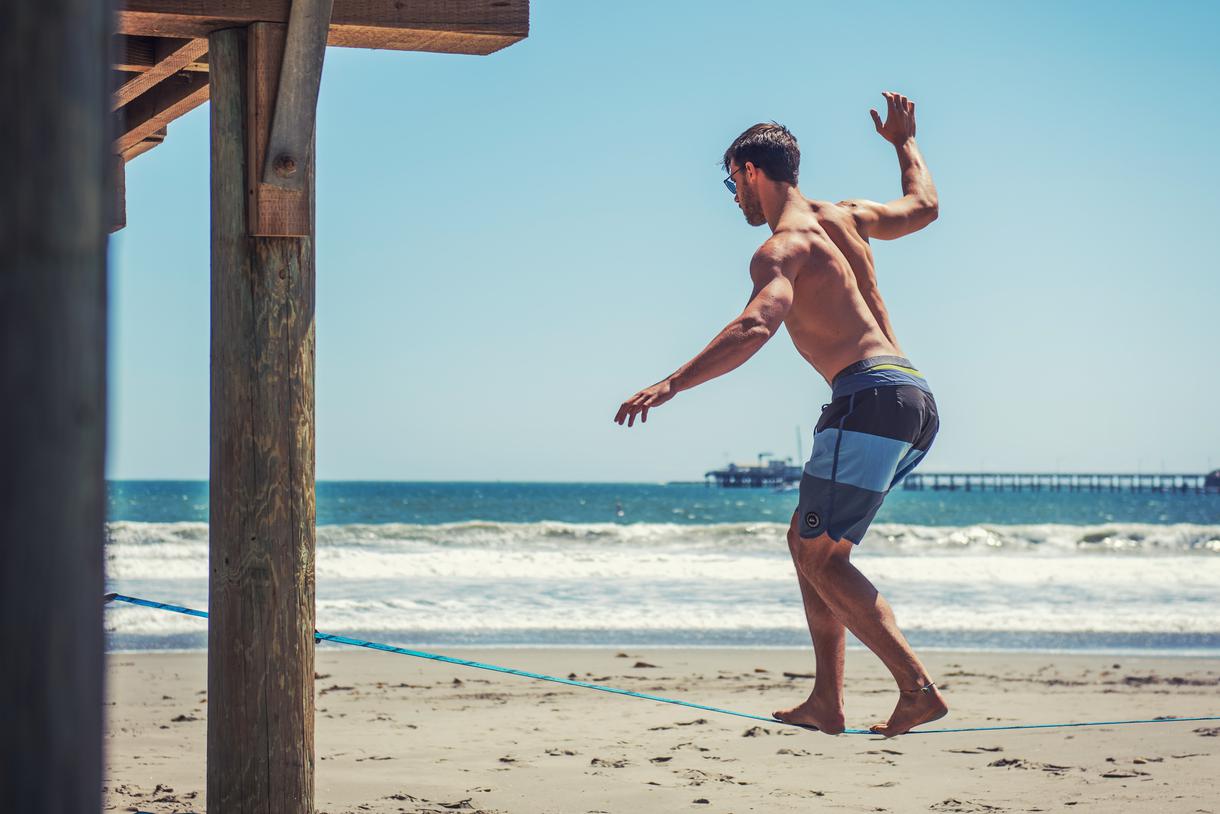
Slacklining has continued to grow and evolve over the years, creating room for variations like slackline yoga and tricklining, where performers do tricks on a slackline. Andy Lewis is perhaps the most famous modern trickliner as well as the best-known figure in competitive slacklining. Born in Santa Rosa and educated at Humboldt State University, he became the first World Tricklining Champion in 2008 and brought the sport into the spotlight in 2012, when he performed next to Madonna at the Super Bowl XLVI Halftime Show.
Slacklining can be a deceptive sport; while those who have mastered it make walking on a slackline look easy, the reality is not quite that simple. Despite the name, slacklining wasn’t made for slackers, so expect to use all your core and leg muscles if you decide to give it a go. Here are some tips for getting started.
Prepare Properly
If possible, visit a slackline park or meet up with a friend who owns a slackline before purchasing your own. Ideally, you’ll get to start on a 2-inch-wide nylon slackline so your feet have a larger surface to get acquainted with, rather than some of the thinner options available for pros. Before you head out, make sure you’re wearing appropriate clothing; very loose-fitting clothing or anything that touches your feet could potentially get in the way of your movements and cause you to fall off the line.
Find a Location
Once you’ve secured your slackline, it’s time to find an ideal location. You’ll need a fairly open, 15- to 20-foot-long area with two sturdy trees, one on each end. Grassy areas tend to work best—they are comfortable to walk on with bare feet and cushion your falls a bit better than hard surfaces such as cement and asphalt. It’s also important to look at the ground of your chosen area and clear it of any sharp rocks or other obstructions that you wouldn’t want to step on or fall onto. If you aren’t able to clear the area of these potential hazards, it’s best to keep searching until you find a better locale.
Set Up Your Line
If your line is longer than the distance between your chosen trees, don’t panic. You aren’t required to use the entire length of your slackline, and shorter distances allow for more stability in the line, so it’s easier to balance. If you go with an experienced slackliner, they will undoubtedly know how to secure the line, but make sure to follow along so you can do it successfully later on.
Slackline kits come with specific instructions that will aid you in safely setting up your rig, but regardless, you’ll want to set up your slackline so it’s mid-thigh high (approximately two and a half feet off the ground). This allows you to step onto the slackline without a step stool and provides enough room between the anchor and the ground for the line to sag. For reference, a typical slackline will bow anywhere from 6 to 12 inches when you step on it. Once it’s at the proper height, tighten both loops around the trees until they don’t move.
Step On
Now that the line is set up, you’re ready to step on the slackline. Stand parallel to the slackline with your dominant hip on the outside—if your right foot is dominant, your left hip will be closest to the line. If you don’t know which foot is dominant, think about which foot is in front for skateboarding, snowboarding, or kicking a soccer ball; chances are, that’s your dominant foot. When in doubt, use the side you write with as your dominant side.
Stand close to one of the trees—the most stable spots on the line are closest to the trees—and step on with the foot closest to the line. The slackline will wobble, so brace yourself and catch your balance before attempting to take another step. Ensure your foot is straight on the line so there is as much contact with the slackline as possible. Now, look up toward the direction you’re going and feel it out. Use your arms as a counterbalance, and try to step on the line at the same point each time after you fall off so your body can get used to the sensation and establish muscle memory.
Ready to go slacklining? From Yosemite to Joshua Tree, let us know your favorite place to slackline throughout California in the comments below.

If you're looking for something fun to do, there are plenty of fun and free things to do in San Francisco, use our guide to help make plans.

Finding a wall isn't the problem. The problem is figuring out which gym fits your lifestyle the best.
All waterfall hikes in L.A. have one thing in common—unbeatable views of terrific cascades. Here are the ones to try next.
From undulating mountains, to coastal expanses, to verdant forests, here are some of the top spots for backpacking in California.