5 Things to Do in Little Tokyo, California
Never been before? We’ll be your trustee Little Tokyo guide with a day’s worth of fun things to do in Little Tokyo.
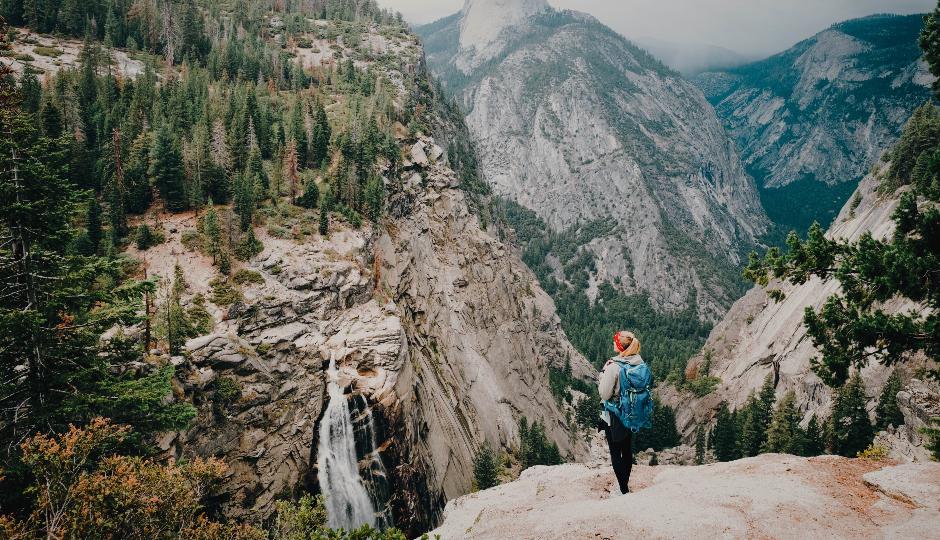
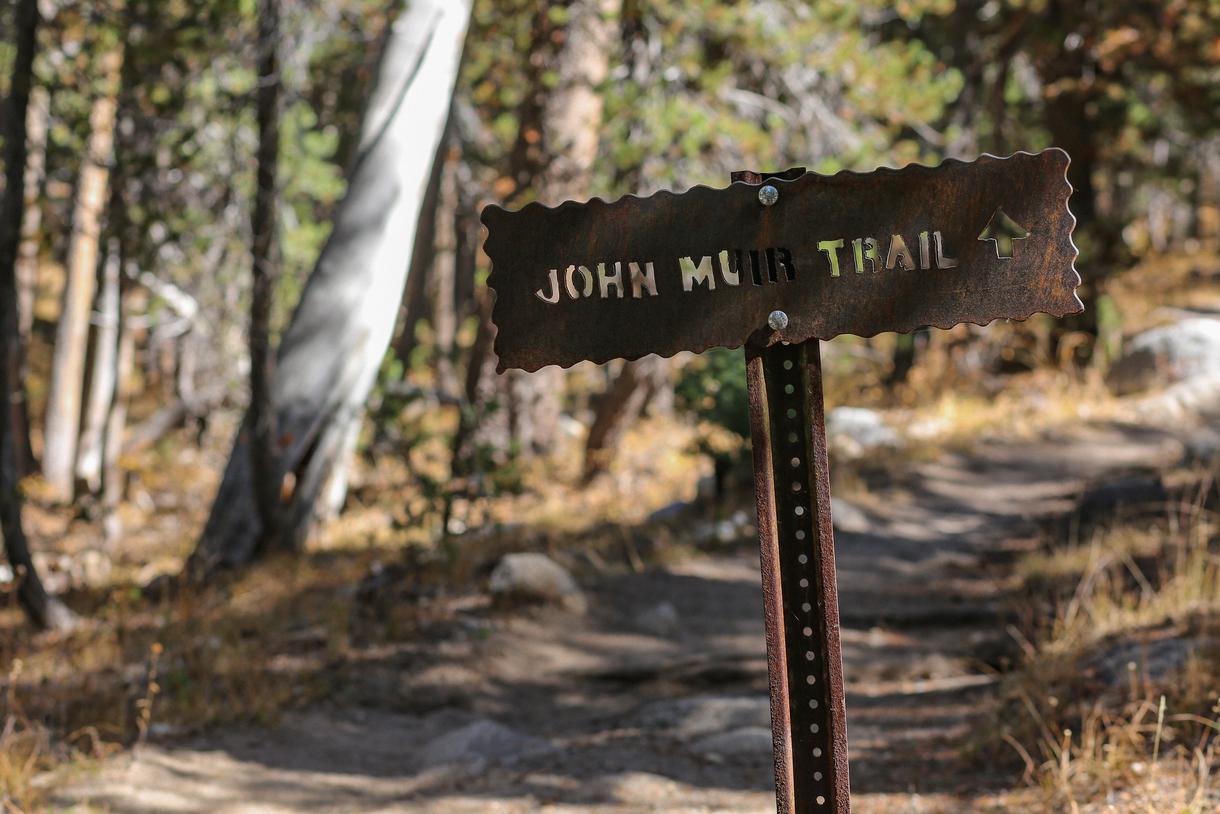
The comfortably familiar scent of pine needles wafts through the breeze, the crisp air fills your lungs, and the pecking of woodpeckers can be heard in the distance as sparrows fly overhead. You find yourself in a pristine natural environment as you stand at the trailhead, ready to conquer a mighty trail through the majestic Sierra Nevada. This is just one of many magical experiences you can have on the venerable John Muir Trail in California, also known simply as the JMT.
The JMT extends between Yosemite Valley and Mount Whitney, following the Pacific Crest Trail for the majority of the way. Complete with panoramic views, lush forests, and a handful of mountain passes, the JMT is the perfect backpacking destination for the nature-loving adventurer. Most thru-hikers spend about three weeks completing the JMT and tend to cover between 10 and 12 miles per day. This means the JMT is not for the casual hiker and requires good preparation before you set off.
Some experienced hikers can complete the trail in two weeks, but this requires averaging about 15 miles each day and leaves less room for enjoying the scenery. Since the JMT is located in the Sierra Nevada, it is recommended that hikers allot extra time to tackle this trying trek. But no matter how quickly you complete the adventure, it is a worthwhile outing, so we’ve compiled everything you should know before hiking the John Muir Trail.
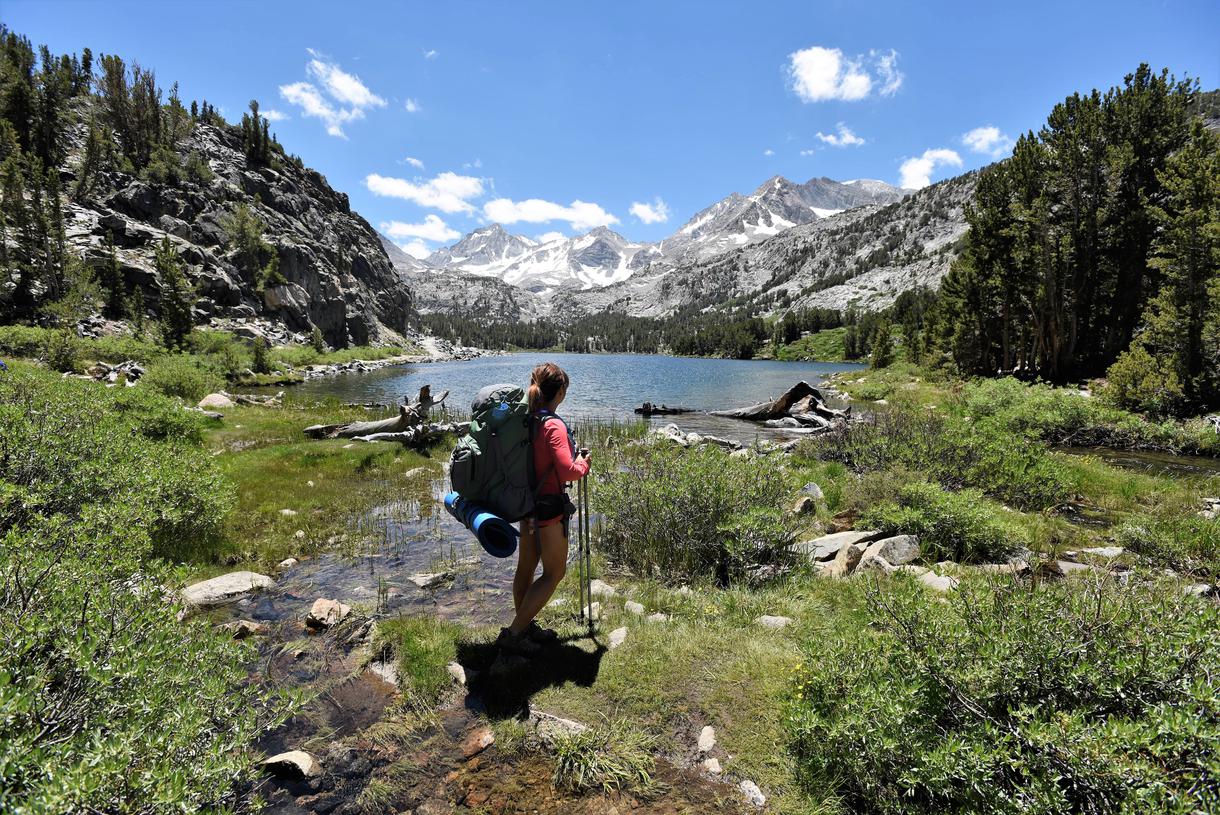
The John Muir Trail is about 211 miles to be exact. It runs entirely through the Sierra Nevada and is parallel to the Pacific Crest Trail (PCT) for the majority of the journey (about 160 miles). Unlike many other thru-hike trails that snake through the Golden State, including the PCT and the Tahoe Rim Trail (TRT), the entirety of the JMT is contained within the borders of California. The official northern and southern terminuses are located at the Happy Isles trailhead in Yosemite Valley and the summit of Mount Whitney, respectively. Since the southern terminus is on a mountain, you would have to turn around and head back down to complete the trip on this route, and this makes this route slightly longer at 222 miles total.
Much like hiking the PCT, the TRT, and the Lost Coast trail, permits are required to hike the John Muir Trail. This is part of the National Park Service’s effort to preserve the surrounding wilderness so that future generations can enjoy it as well. First off, you’ll need a wilderness permit, and the type of wilderness John Muir Trail permits you to get depends on which direction you plan to hike.
If you wish to hike to the summit of Mount Whitney, you’ll need a Yosemite National Park wilderness permit. It’s best to get this permit early, and fortunately, they can be acquired up to 24 weeks in advance. Make sure to apply exactly 168 days before your trip to have the best chance of securing your dates; only 45 permits are administered per day due to the national park’s exit quota for the Donohue Pass, and for the peak hiking days, the park can receive 600-plus applications. Of these, 25 are issued for the Lyell Canyon trailhead, and the remaining 20 are issued for the Happy Isles to Little Yosemite Valley, Glacier Point to Little Yosemite Valley, Happy Isles pass-through, and Sunrise Lakes trailheads.
If you want to hike from south to north towards Happy Isles, an Inyo National Forest wilderness permit is required. Much like North-South permits, Inyo National Forest permits are in very high demand and are thus issued via lottery. Applications are accepted from February 1 through March 15, and there is a fee of $6 per permit. The results of the lottery are posted on March 24 and require a reservation fee of $15 per person to claim the awarded date. After the lottery, any remaining spaces become available online on April 1 and can be claimed up to two days before any trip either online or over the phone, and payment is due at the time the reservation is made. All permits must be picked up from the Eastern Sierra Interagency Visitor Center in Lone Pine, about 22 miles east of Whitney Portal.
While there is no guarantee that fires will be allowed at all points along the trail since fire danger ratings vary daily, a campfire permit generally allows thru-hikers to use camp stoves in the backcountry in most places. Permits can be obtained from the same authorities you get your wilderness permit from and are issued for free.
Yosemite’s Half Dome is so close to the JMT that many hikers choose to take a detour to experience it. Since this iconic destination is popular for hikers and rock climbers, permits are required for both day-use and wilderness thru-hikers. But Half Dome permits are also in short supply, so it is best to specify on the Yosemite wilderness permit reservation that you also want a Half Dome permit so that both will be valid during your entire trek.
Though it doesn’t matter which way you hike, most thru-hikers choose to travel from north to south along the trail as this is the shorter of the two routes. The best time to hike the JMT is generally between July and September since these are the warmest months, though the accessibility and specific dates shift from year to year. Cell service is not reliable on most sections of the trail, so bear this in mind and come prepared with and consider bringing a small satellite phone for emergencies. The total elevation change along the JMT is approximately 47,000 feet—the equivalent of summiting Mt. Whitney just over three times, so it’s always a good idea to get some training in before you take on this trail.
Going for runs, long walks, and shorter hikes can help you build up your strength and stamina for the JMT. We recommend bringing bear canisters with you rather than relying on hanging the food from tree branches, as much of the trail is above the treeline. Bears are not dangerous unless you frighten them, and keeping your food secured is a great way to avoid them getting too close. The trail is strenuous, so familiarize yourself with your gear and get used to carrying all of your hiking gear during your practice hikes.
Thunderstorms are not uncommon in the High Sierra during peak hiking season, so it’s important to get up and over the mountain passes before noon, and have plenty of rain gear with you to keep you and your stuff dry. It’s also a good idea to be prepared for snow with some warm clothing and a winter sleeping bag. The higher elevations and north-facing slopes of the Sierra Nevada often get snow, even in July and August.
Camping is never allowed at trailheads as this can cause obstructions and other safety issues. Plan to camp 100 feet away from the trails and 200 feet away from water sources, but stay within 300 feet of the trail corridor so you don’t risk disorientation. Littering is strictly forbidden throughout the trail and is punishable by severe fines. Instead, keep your trash and dump it in the bins at one of the many resupply sites along the trail. It's also just really bad for the environment, so please don’t do it. There are, of course, no bathrooms or plumbing out on the trail, so you’ll need to go back to basics when it comes to going to the bathroom. Whenever you do, make sure to bury whatever you leave behind (do not hide it under rocks!).

Does your business rank among the best in California?
nominate a businessLearn more about our selection criteria and vetting process.
Camp stoves are allowed with the proper permits, but alcohol and wood-burning stoves regularly have additional restrictions due to fire risks. For food, there are various resupply locations along the trail where you can purchase meals and groceries and dump any trash. Here’s a list:
Tuolumne Meadows: This destination is home to a general store and even a post office, but they are not open year-round, so check the hours in advance.
Red’s Meadow: Red’s Meadow Resort and Pack Station can keep your packages for a fee and also offer a small selection of food for purchase.
Mammoth Lakes: Slightly off the trail, Mammoth Lakes features plenty of amenities such as hotels, supermarkets, and outdoor gear.
Lake Thomas A. Edison: Vermilion Valley Resort provides a free shuttle boat across the lake and can keep resupply packages for a fee. Rooms, showers, laundry, trail food, and hot meals are also available for purchase.
Muir Trail Ranch: This wilderness base camp offers rooms and meals and even keeps resupply packages. Camping and hot springs are also available nearby.
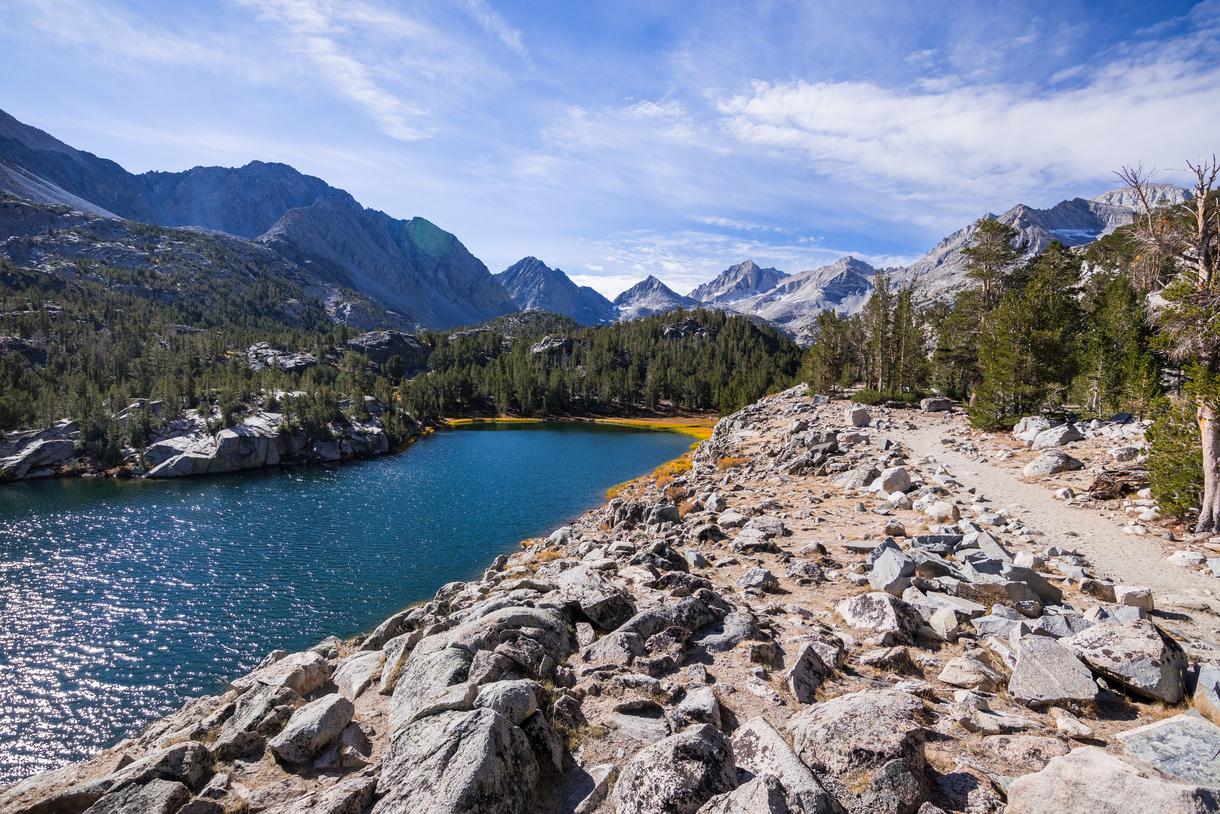
With everything packed away, you’re ready to head out on the JMT!


Never been before? We’ll be your trustee Little Tokyo guide with a day’s worth of fun things to do in Little Tokyo.
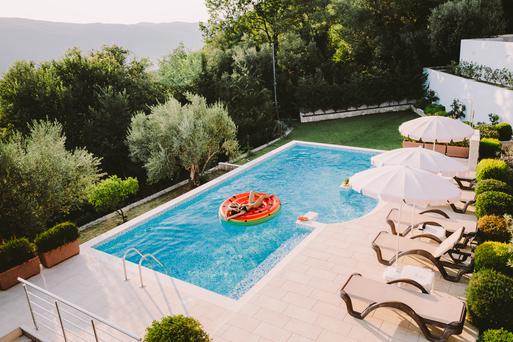
People go on Memorial Day weekend getaways as an indirect celebration of life. How do you plan on celebrating the long weekend?
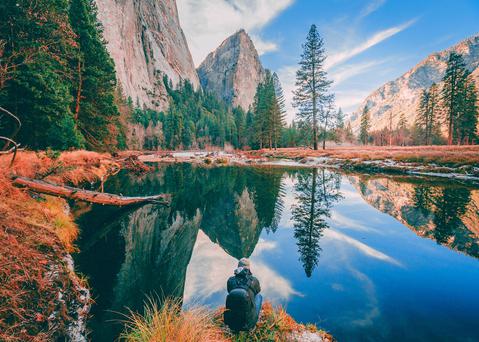
From undulating mountains, to coastal expanses, to verdant forests, here are some of the top spots for backpacking in California.
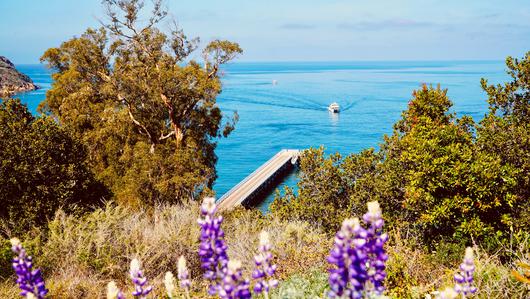
Settled off the California coast, the Channel Islands offer endless adventures. Here are the best things to do and how to get there.

